Diemos Predator Assembly
4 posters
Page 1 of 1
 Diemos Predator Assembly
Hey, so this is a step by step guide to make the Diemos Predator kit. this is both to demonstrate the parts that come in the kit, and show what prep-work needs doing for it to come together. I'm making it as a Predator Destructor with Heavy Bolter sponsons, like this:

OVERVIEW

The stuff highlighted in green are the parts used to make your sponsons. the left square is the armor plating that goes in front of the them when completed.
STEP 1: Prep Work
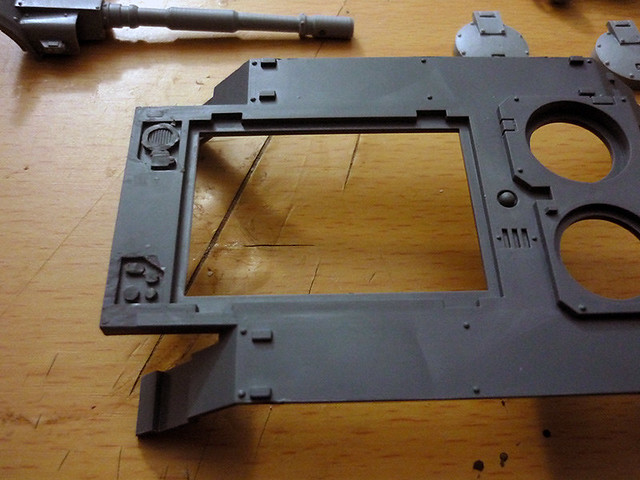
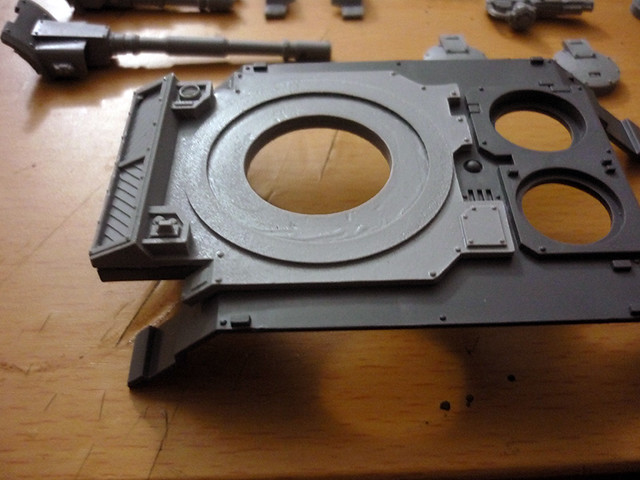
to start off, you need to trim the back of the top-plate. if not, the plate that goes here for the turret won't fit. here it is fitted after trimming:
STEP 2: Body Assembly
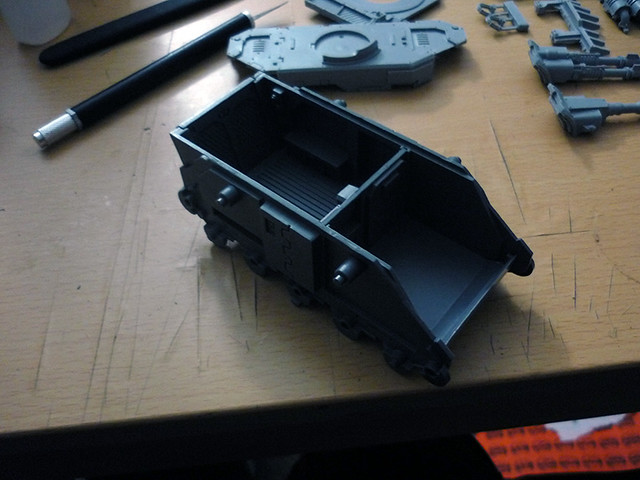
assemble your rhino body up to this stage. then add the top-plate. this has to be done, because the new outside walls wrap around the top-plate.
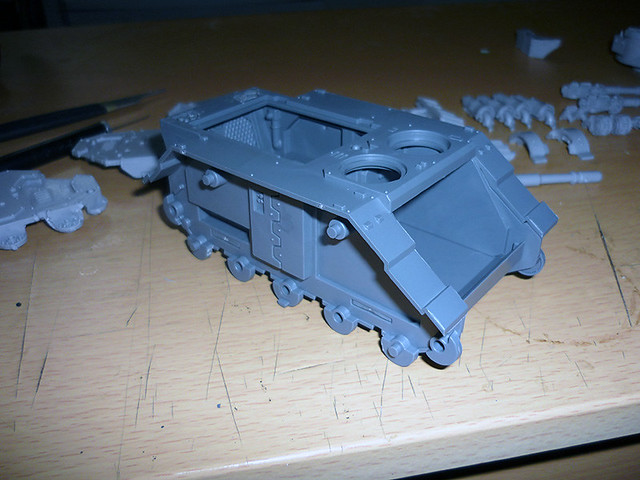
here's the sides installed:

And here's the front plate installed:
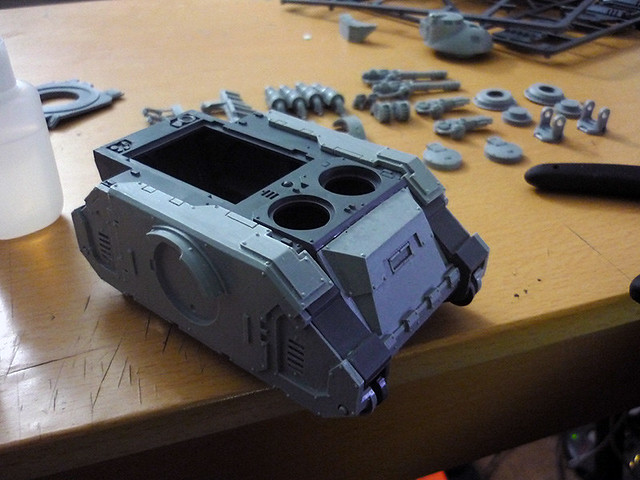
finally, the new top-plate is mounted:
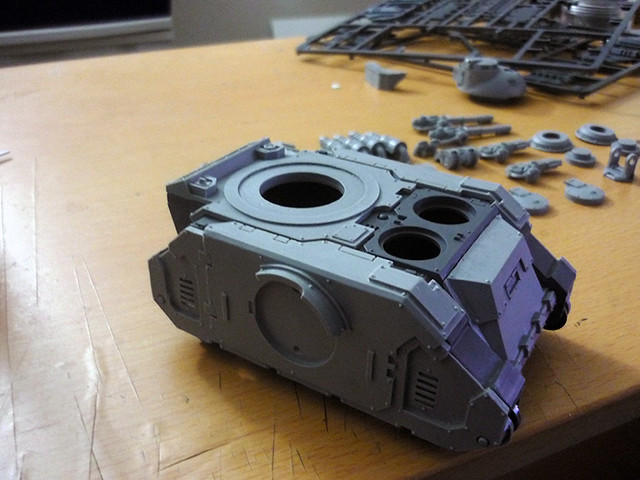
STEP 3: Hatch Assembly
the kit came with 2 hatches, but unfortunately, they're the same thickness:

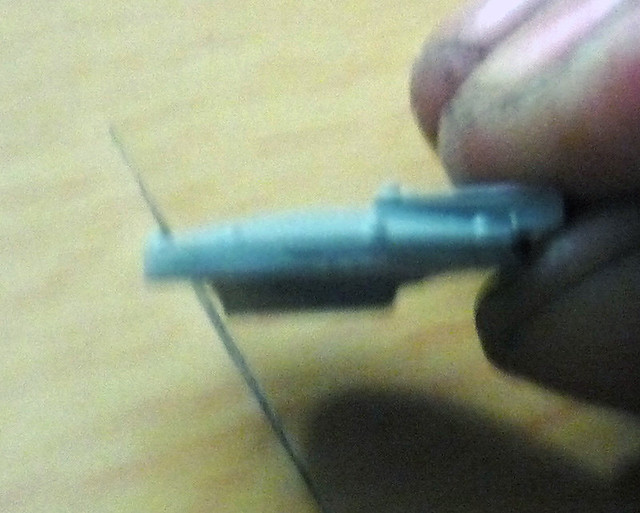
this is a problem, since this is the right thickness for the left cupola that normally holds your storm bolter wielding guy. so one of the two needs to be sanded down thinner for the right cupola:
Here they are installed:

STEP 4A: Sponson Mount Assembly
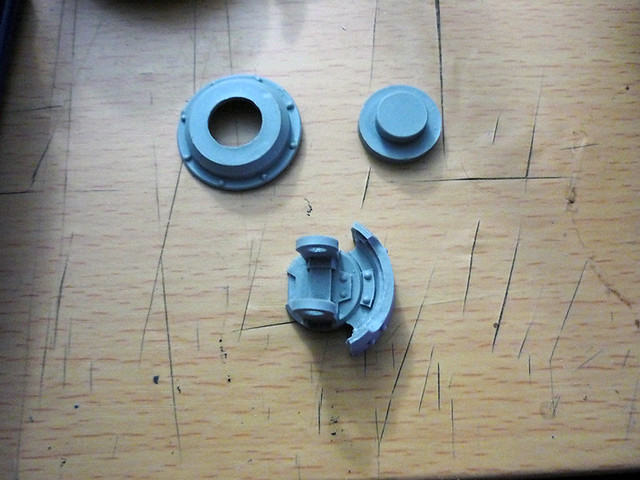
so here's the 4 parts that make the sponson mount:

attach the armor plating to the gun mount, like so:
next is to place the inner pin that allows the sponson to rotate up and down freely. if you want this to move, don't glue this in place:

now glue the gun mount to the pin, again, take care not to get any glue on the bracket that holds the pin if you want this to move freely:

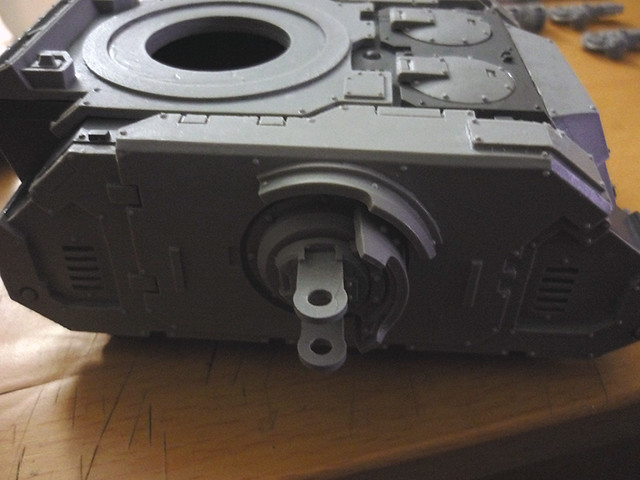
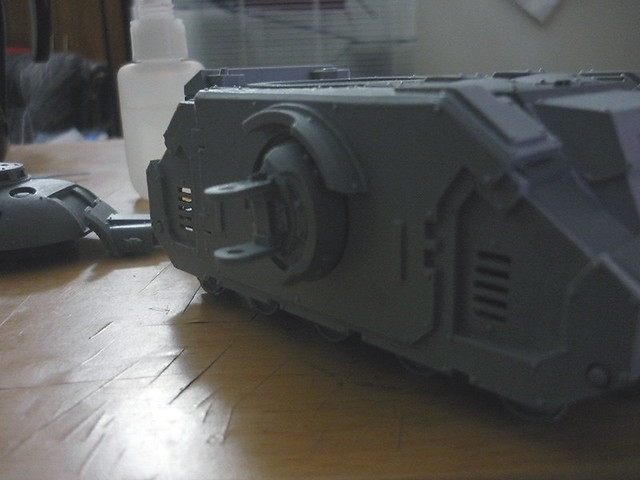
here's the sponson mounted on the tank:


STEP 4B: Sponson Weapon Assembly
here's the pieces to make the sponson, unassembled. the power cord and the targeting sensor are what attach it onto the mount, so dont glue these together ahead of time.

the ammo drums are specific to each gun. as you'll see below, it has a groove to fit over the shell eject port. the guns are made with the shell eject port on both sides; the drum covers the inside-facing one.
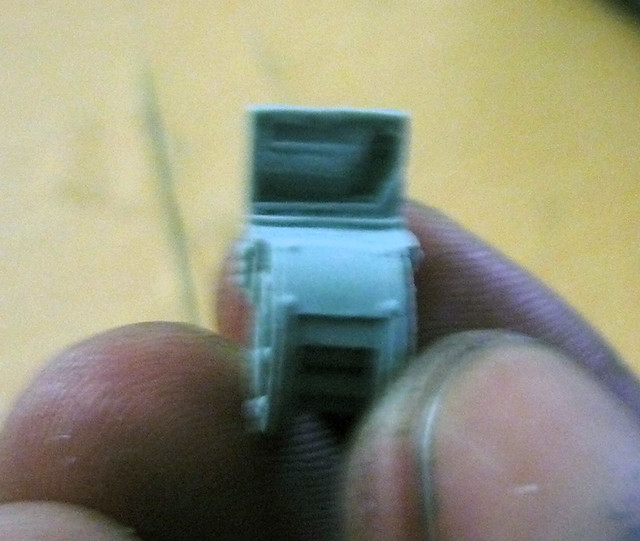
once mounted, it looks like this:


FINAL
this is the tank after the turret was mounted. i've left off the exhausts so i can paint them easier:


OVERVIEW

The stuff highlighted in green are the parts used to make your sponsons. the left square is the armor plating that goes in front of the them when completed.
STEP 1: Prep Work

to start off, you need to trim the back of the top-plate. if not, the plate that goes here for the turret won't fit. here it is fitted after trimming:

STEP 2: Body Assembly

assemble your rhino body up to this stage. then add the top-plate. this has to be done, because the new outside walls wrap around the top-plate.

here's the sides installed:

And here's the front plate installed:

finally, the new top-plate is mounted:

STEP 3: Hatch Assembly
the kit came with 2 hatches, but unfortunately, they're the same thickness:

this is a problem, since this is the right thickness for the left cupola that normally holds your storm bolter wielding guy. so one of the two needs to be sanded down thinner for the right cupola:

Here they are installed:

STEP 4A: Sponson Mount Assembly
so here's the 4 parts that make the sponson mount:

attach the armor plating to the gun mount, like so:

next is to place the inner pin that allows the sponson to rotate up and down freely. if you want this to move, don't glue this in place:

now glue the gun mount to the pin, again, take care not to get any glue on the bracket that holds the pin if you want this to move freely:

here's the sponson mounted on the tank:


STEP 4B: Sponson Weapon Assembly
here's the pieces to make the sponson, unassembled. the power cord and the targeting sensor are what attach it onto the mount, so dont glue these together ahead of time.

the ammo drums are specific to each gun. as you'll see below, it has a groove to fit over the shell eject port. the guns are made with the shell eject port on both sides; the drum covers the inside-facing one.

once mounted, it looks like this:


FINAL
this is the tank after the turret was mounted. i've left off the exhausts so i can paint them easier:

Last edited by dusktiger on Wed Nov 21, 2012 9:46 am; edited 2 times in total
 Re: Diemos Predator Assembly
Wow, that's a beautiful kit. Is that going with your Scorpions?

Lore Weaver- Lord of Titan
- Posts : 4609
Join date : 2010-01-05
 Re: Diemos Predator Assembly
nope, im making a 30k loyalist Emperor's Children army, and this baby will go to them. i chose the destructor cause in 30k, its a 4 shot autocannon, which is just awesome sauce.
 Re: Diemos Predator Assembly
I need to get around to building my Diemos Pattern Rhino/Razorback one of these days, ack. >.<;;

Planes- Lord of Titan
- Posts : 3156
Join date : 2011-11-27
Location : Mai'laun
 Re: Diemos Predator Assembly
You should use magnets on your sponsons....
... Ill let you fill in the rest.
... Ill let you fill in the rest.
System Commander- System Commander
- Posts : 4695
Join date : 2008-02-26
 Re: Diemos Predator Assembly
It is a nice looking model though.

System Commander- System Commander
- Posts : 4695
Join date : 2008-02-26
 Similar topics
» Diemos Predator (heresy era) kit
» assembly difficulties on new FW flyers
» PREDATOR(s)
» predator executioner
» Baal predator bits!!!!
» assembly difficulties on new FW flyers
» PREDATOR(s)
» predator executioner
» Baal predator bits!!!!
Page 1 of 1
Permissions in this forum:
You cannot reply to topics in this forum
 Home
Home Gallery
 Register
 Log in